When making big energy saving updates to your home, it is essential to use qualified contractors. However, in some cases, the do-it-yourself approach can really pay off.
According to Clean BC
“Three essential elements of an energy-efficient home are airtightness (achieved through draft proofing), insulation (ample amounts) and sufficient ventilation. Combine all three, you get a comfortable, low-energy, lower carbon home with excellent indoor air quality year-round and lower heating and cooling bills. Additional benefits include reduced drafts, noise, and moisture problems.”
Air sealing is an essential step towards creating a more energy-efficient and comfortable home. It involves sealing any gaps or leaks in your home's envelope to make it airtight. Airtight homes are more energy-efficient, as they reduce the amount of air that escapes from your home, which in turn reduces the amount of energy required to heat or cool it.
Many of these tasks can be done by homeowners themselves, making it a cost-effective way to improve your home's energy efficiency. However, it is important to have an understanding of what air sealing is and how to do it properly.
5 things you can do
Air sealing can be done in a variety of ways. The good news, it's not that hard, affordable, and almost all home stores carry the things you need.
1. Caulking
Applying quality caulking around the house is great for closing small cracks and holes around windows, doors, and more. Here are some simple steps to improve airtightness using caulking:
- Inspect: Check around windows, doors, baseboards, electrical outlets, and other areas where there may be gaps or cracks.
- Clean: Before applying the caulking, clean the area thoroughly to remove any dirt, dust, or debris.
- Selection: There are different types of caulking available, including silicone, latex, and acrylic. Choose the type that is best suited for the area you are sealing. Spend a little more and buy the good stuff - something designed for moisture and won’t crack easily.
- Cutting: Cut the tip of the caulking tube at a 45-degree angle, then apply a continuous bead of caulking along the area to be sealed. Use a caulking gun to make the job easier. Doing many small passes to build up the caulking is better than adding too much at the start.
- Apply: Use a caulking tool or your finger to smooth the caulking and ensure it fills the gaps or cracks completely.
- Dry: The drying time will depend on the type of caulking used. Follow the manufacturer's instructions for drying time.
By following these simple steps, you can improve the airtightness of your home and reduce your energy bills.
2. Weather stripping
Weather stripping is a simple and cost-effective way to improve the airtightness of your home. It comes in variety of materials and sizes. Here are some steps you can take to improve the airtightness of your home with weather stripping:
- Identify leaky areas: Start by identifying areas where air is leaking in or out of your home. Common areas include doors, windows, and attic hatches. You can use a smoke pencil or an infrared thermometer to help you find these areas.
- Choose the right weather stripping: There are different types of weather stripping available, including adhesive-backed foam tape, V-strip, and door sweeps. Choose the right type of weather stripping for the specific area you want to seal. You'll need to use your judgement and maybe a little experimentation. The more seals and material in the gaps, the better. However, you need to make sure that doors and windows still work well.
- Clean the surface: Before applying weather stripping, make sure the surface is clean and dry. Use a damp cloth to remove any dirt, debris, or old adhesive.
- Measure and cut: Measure the length of the area you want to seal, and cut the weather stripping to fit. Make sure to leave a little bit of overlap to ensure a good seal.
- Apply the weather stripping: Peel off the backing from the adhesive strip and apply the weather stripping to the surface, pressing it firmly into place.
- Test for air leaks: After applying weather stripping, test for air leaks by using a smoke pencil or a candle. Hold it near the area you sealed and see if the smoke or flame flickers. If it does, you may need to apply additional weather stripping.
By following these simple steps, you can improve the airtightness of your home and help reduce energy costs associated with air leaks.
3. Expanding foam
Expanding foam can be used to seal bigger gaps, cracks, and holes in various parts of a home, such as around windows and doors, electrical outlets, and pipes. Here's a simple guide on how to use expanding foam to improve the airtightness of your home:
- Identify the areas that need sealing: Walk around your home and look for gaps, cracks, and holes where air might be leaking in or out. Common areas include around windows and doors, where pipes enter or exit the home, and around electrical outlets.
- Choose the right type of expanding foam: There are different types of expanding foam available, so make sure to choose the right one for your needs. For example, low-expansion foam is ideal for small gaps, while high-expansion foam is better for larger gaps.
- Prepare the area: Before applying the foam, clean the area thoroughly to remove any dust, dirt, or debris. This will help the foam adhere better and create a more airtight seal.
- Apply the foam: Put on gloves and eye protection, and follow the instructions on the foam canister. Start with a small amount of foam and apply it in a continuous bead, filling the gap or hole completely. Be careful not to overfill the area, as the foam will expand as it dries.
- Let the foam dry: The foam will expand and harden as it dries, so leave it to dry for the recommended amount of time. Once it's dry, you can trim away any excess foam with a sharp knife or saw.
- Check your work: After the foam has dried, check your work to make sure there are no gaps or holes left. If there are any areas that still need sealing, repeat the process until the area is airtight.
By following these simple steps, you can use expanding foam to improve the airtightness of your home and reduce energy waste caused by air leaks
4. Foam outlet covers
Foam outlet covers when added to outlets and switches on exterior wall are an easy and affordable way to improve the airtightness of a home. Here's how you can use them:
- Turn off the power: Before installing foam outlet covers, make sure to turn off the power to the outlets you'll be working on. You can do this by switching off the circuit breaker or fuse that controls the outlets.
- Remove the outlet cover: Use a screwdriver to remove the existing outlet cover.
- Install the foam outlet cover: Place the foam outlet cover over the outlet and press it firmly into place. The foam will expand slightly to create a seal around the outlet.
- Reinstall the outlet cover: Once the foam outlet cover is in place, reinstall the outlet cover using the screws provided.
By installing foam outlet covers on exterior walls, you can reduce drafts and prevent air leakage through your outlets, improving the energy efficiency of your home.
5. Insulation
Ok, last resort. If you have a big whole and noting else is practical, jam some insulation in it. It will help to seal the gaps and of course will reduce heat transfer.
Can your home be too airtight?
Yes…but if you’re reading this and thinking about your home, likely not.
Usually only newer homes that have thought about air tightness from the bottom up can achieve excellent air tightness. They are designed to use mechanical ventilation to ensure a steady stream of clean and fresh air. These are called Heat Recovery Ventilation 9HRV) and Energy Recover Ventilation (ERVs).
When to call in the pros
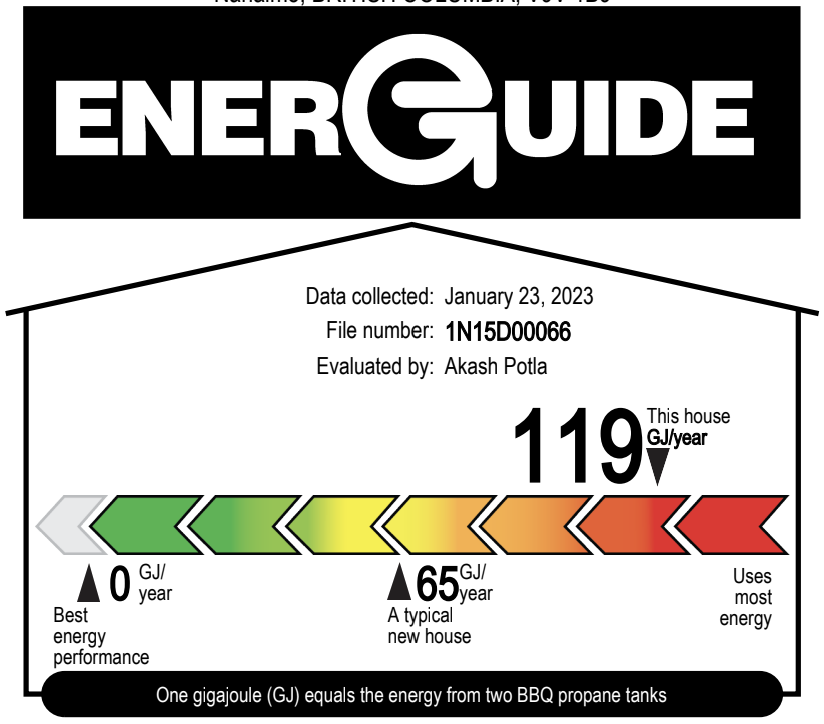
If you check off this list but still think you have some air tightness issues, professional Energy Advisors can complete a blower test or an EnergGuide evaluation. These tests will help you locate any gaps or leaks in your home's envelope, including in the attic, basement, windows, and doors.
There are several grants and rebates available to Canadian homeowners who want to improve their home's energy efficiency. The Canada Greener Homes Initiative provides homeowners with up to $5,000 in grants to complete home energy retrofits. These retrofits can include air sealing, insulation, and the installation of energy-efficient appliances and heat pumps.
Improving your home's energy efficiency through air sealing not only saves you money on your energy bills, but it also improves the air quality in your home. Proper air sealing reduces the amount of outdoor pollutants that enter your home, while also reducing mold build-up and drafts.

Discover more
Learn more about making home energy upgrades easy